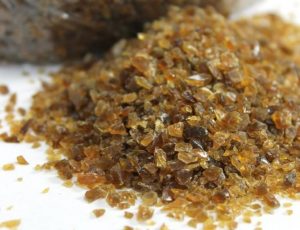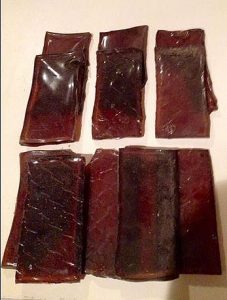
Hide glue wafers, to be broken up, soaked in water overnight, and then heated in a glue pot the next day. This is the product that the craftsperson would receive from the beginning of industrial production of hide glue, starting around 1800.
Use of hide glues in piano construction and restoration have essentially been the universal adhesive right up to the advent of World War II. Postwar, PVA or yellow wood glue, epoxies, contact cements, and CA glues were adopted for various specialized uses. But modern piano technicians, restorers and repairers, keep returning to hide glues because of its reversibility and lack of creep, or movement under stress. While one can make a glue pot with a modern adjustable hot pot for cooking purposes very cheaply, it is instructive to look at the ways that hide glue was kept in its fluid state historically. After all, some of the best pianos and musical instruments ever made were produced without an electrical dial to achieve a 140 degree F optimal temperature.
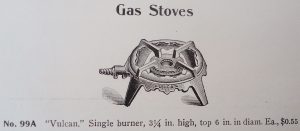
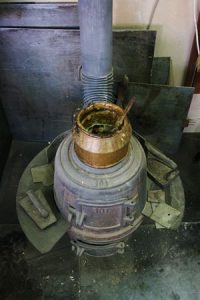
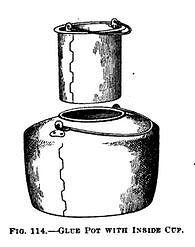
Historically, glue temperature was moderated by using a Bain-Marie, or double pot, with water in the outer pot, and the glue in the inner pot. Variables in controlling the temperature of the hide glue would include the size of the outer pot in relation to the inner vessel, the intensity of the heat source, the distance from the heat source to the outer pot, and the amount of time the heat source is engaged. Sources of heating the glue would include wood or coal shop stoves, open hearths, gas heaters, alcohol and kerosene lamps, and steam tables.
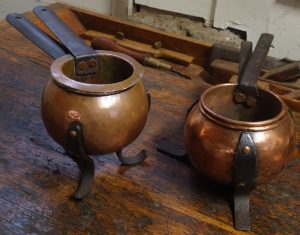
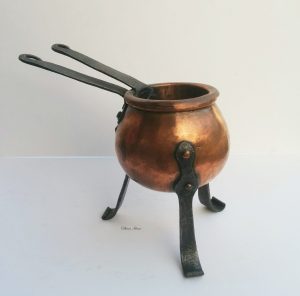
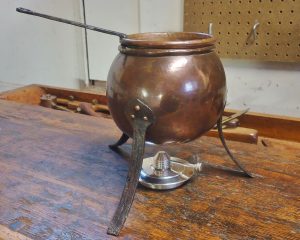
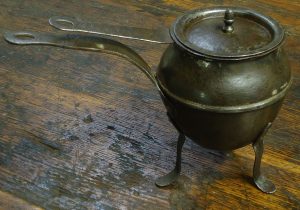
Two smaller globular shaped French glue pots with legs. The legs serve as an extra buffer between the heat source besides the water-filled outer pot, and the hide glue. Lids were often made by the artisan, since those discerning enough to use hide glue would naturally be inclined to make one. Or at the very least, to improvise a cover.
Glue pots have come in many forms, and made from a variety of materials. Early on, and up until the time of Christopher Gabriel, a major London tool and wood supplier from 1770 to 1822, many glue pots were made of lead, and were a single pot only, not a bain-marie. Lead had the advantage of retaining heat very well, giving the worker time to transport the glue away from a heat source, to the actual location of the bonding operation, if the work could not be moved adjacent to the heating source.
In the United States and Britain, with the development of the cast iron industry in the early 1800s, glue pots were a logical candidate to be cast from iron. Iron distributes heat evenly and holds it–and mass producing these pots was relatively inexpensive–making them affordable to a wider market.
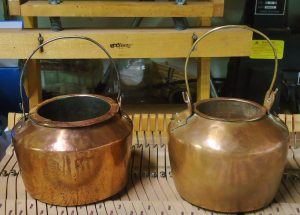
Copper glue pots were prevalent in France starting in the 1700s, and to a lesser extent in England and the United States. Copper was used because of its ability to conduct heat, which means that the metal heats up quickly. Its also true, though, that copper releases heat just as quickly. But this is obviated by the use of an outer pot containing water, which holds the heat much longer. These pots were often made by individual coppersmiths, or in workshops, such as those within the copper making community of Villedieu, France. Many variations of construction can be seen in these pots historically; joining methods employed would include dovetailing, overlap dovetailing, folded joints, riveted joints, and soldering. The coppersmith would start using flat sheets of copper, bending and planishing into shape, using the above methods of joining. Other pots utilized copper sheets compressed into iron or steel forms, then the various components would be brazed together. Some copper pots would be made of ‘bright copper,’ meaning that the level of finish would be as refined as teapots and other copper vessels for the table and in cooking. Others, however, would be completed with less attention to detail, with an eye towards sturdiness. In England and the United States, starting in the mid 18th century and to the late 19th century, a significant number of copper glue pots were made just like teapots, with the exception of a spout and the addition of an inner pot for the glue.
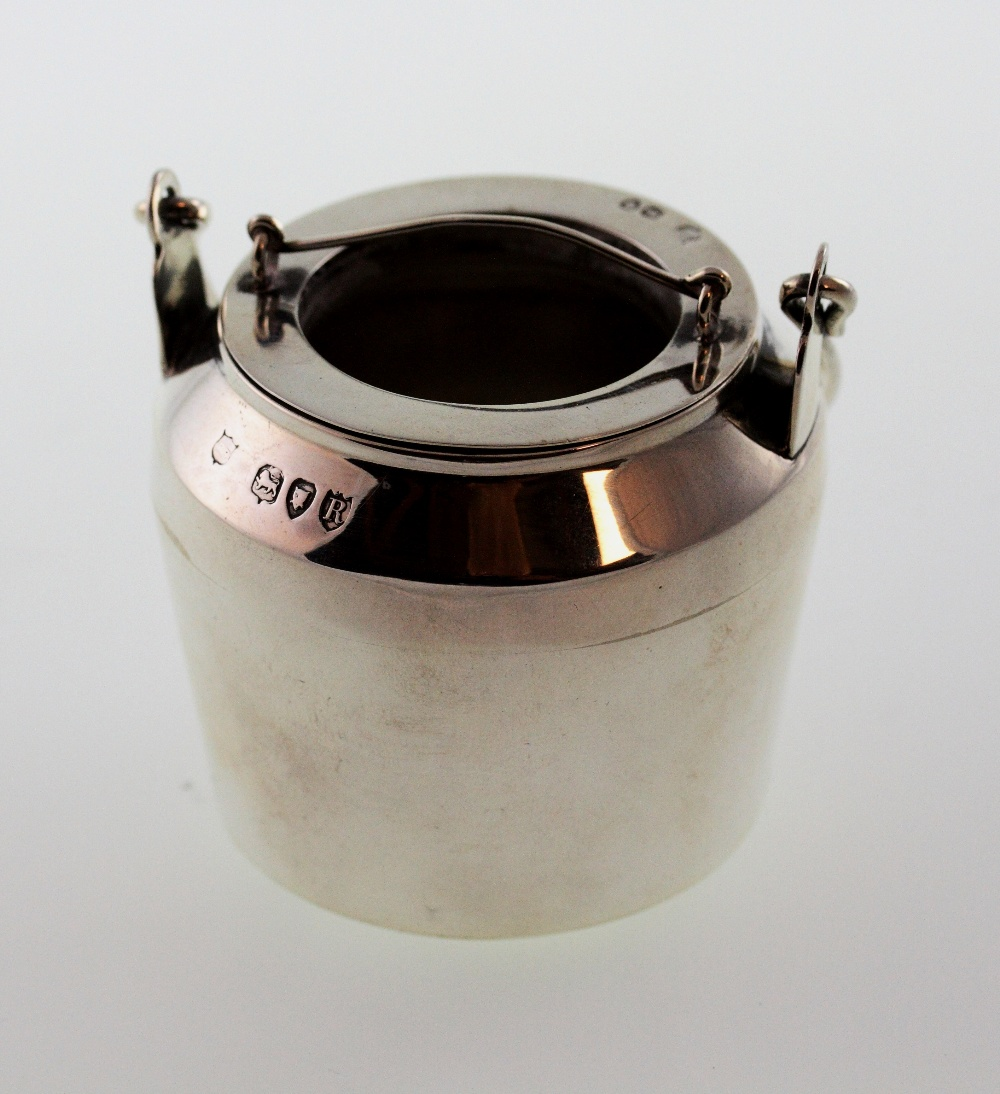
“A Late Victorian Silver Glue Pot. Rupert Favell. London 1892. In the form of a churn with swing handle. Complete with interior glass liner. 5cm high. 4.9cm diameter. 51.6 ounces (of weighable silver).” From the saleroom, London Auction Rooms. May 2015.
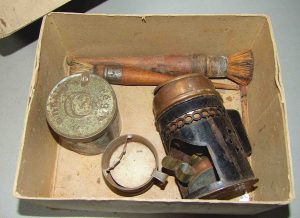
French hide glue kit, as found by Patrick Leach. Includes glue pot, hog bristle glue brushes, tin container for glue granules, and handle for copper double boiler. Photo from Patrick Leach.
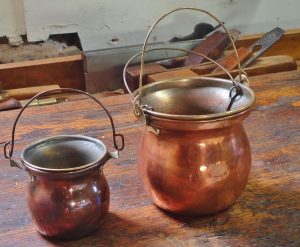
Small one is marked 00, its less than 3 inches tall; large one is 4 1/4 inches tall and marked 3. It appears that France had a size index for glue pots that differed from England. Three inch English glue pots usually were a size 7.
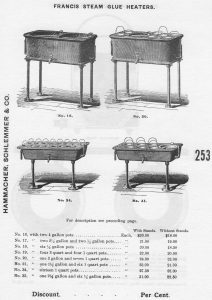
Hide glue still has many applications in piano work today, for many reasons. Its rare to find these antique glue pots with burner, heating shroud, and double copper pot. But this is the complete set up, and its how they were used in old piano factories, along with steam tables.
Hide glue has many advantages, including the ability to control working time, or the timing of the setting process with urea. With heat and steam, the bond can easily be broken and cleaned; this is very useful during the replacement of some piano parts, and the retention of others. An example of this would be the hanging of multiple sets of hammers on the same set of shanks over the lifespan of the piano, especially when the original shanks are obsolete, such as a set of Thayer shanks. Multiple replacements of key bushings are another example. Also, hide glue is not as vulnerable to dry flow when compared to modern yellow wood glue or PVA, which can be subject to movement of structural components under shear stress load.
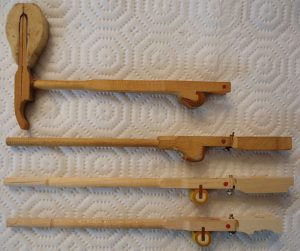 Top to bottom: obsolete Thayer shank with hammer; Thayer shank & flange; Knabe type shank & flange, with conventional knuckle; Steinway type shank & flange, also with conventional knuckle. Thayer was an Illinois-based piano action company. Picture provided because no images of Thayer grand parts are readily available online
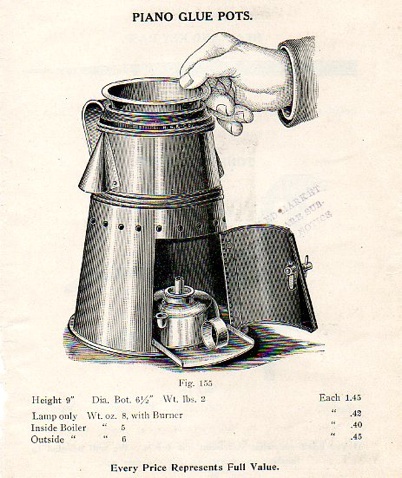
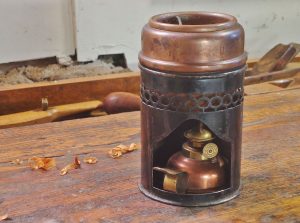
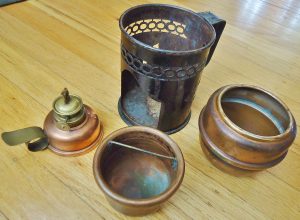
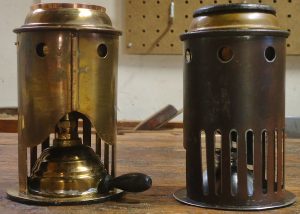
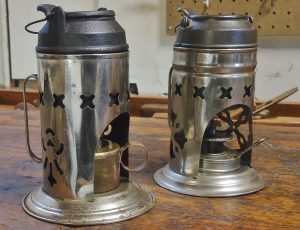
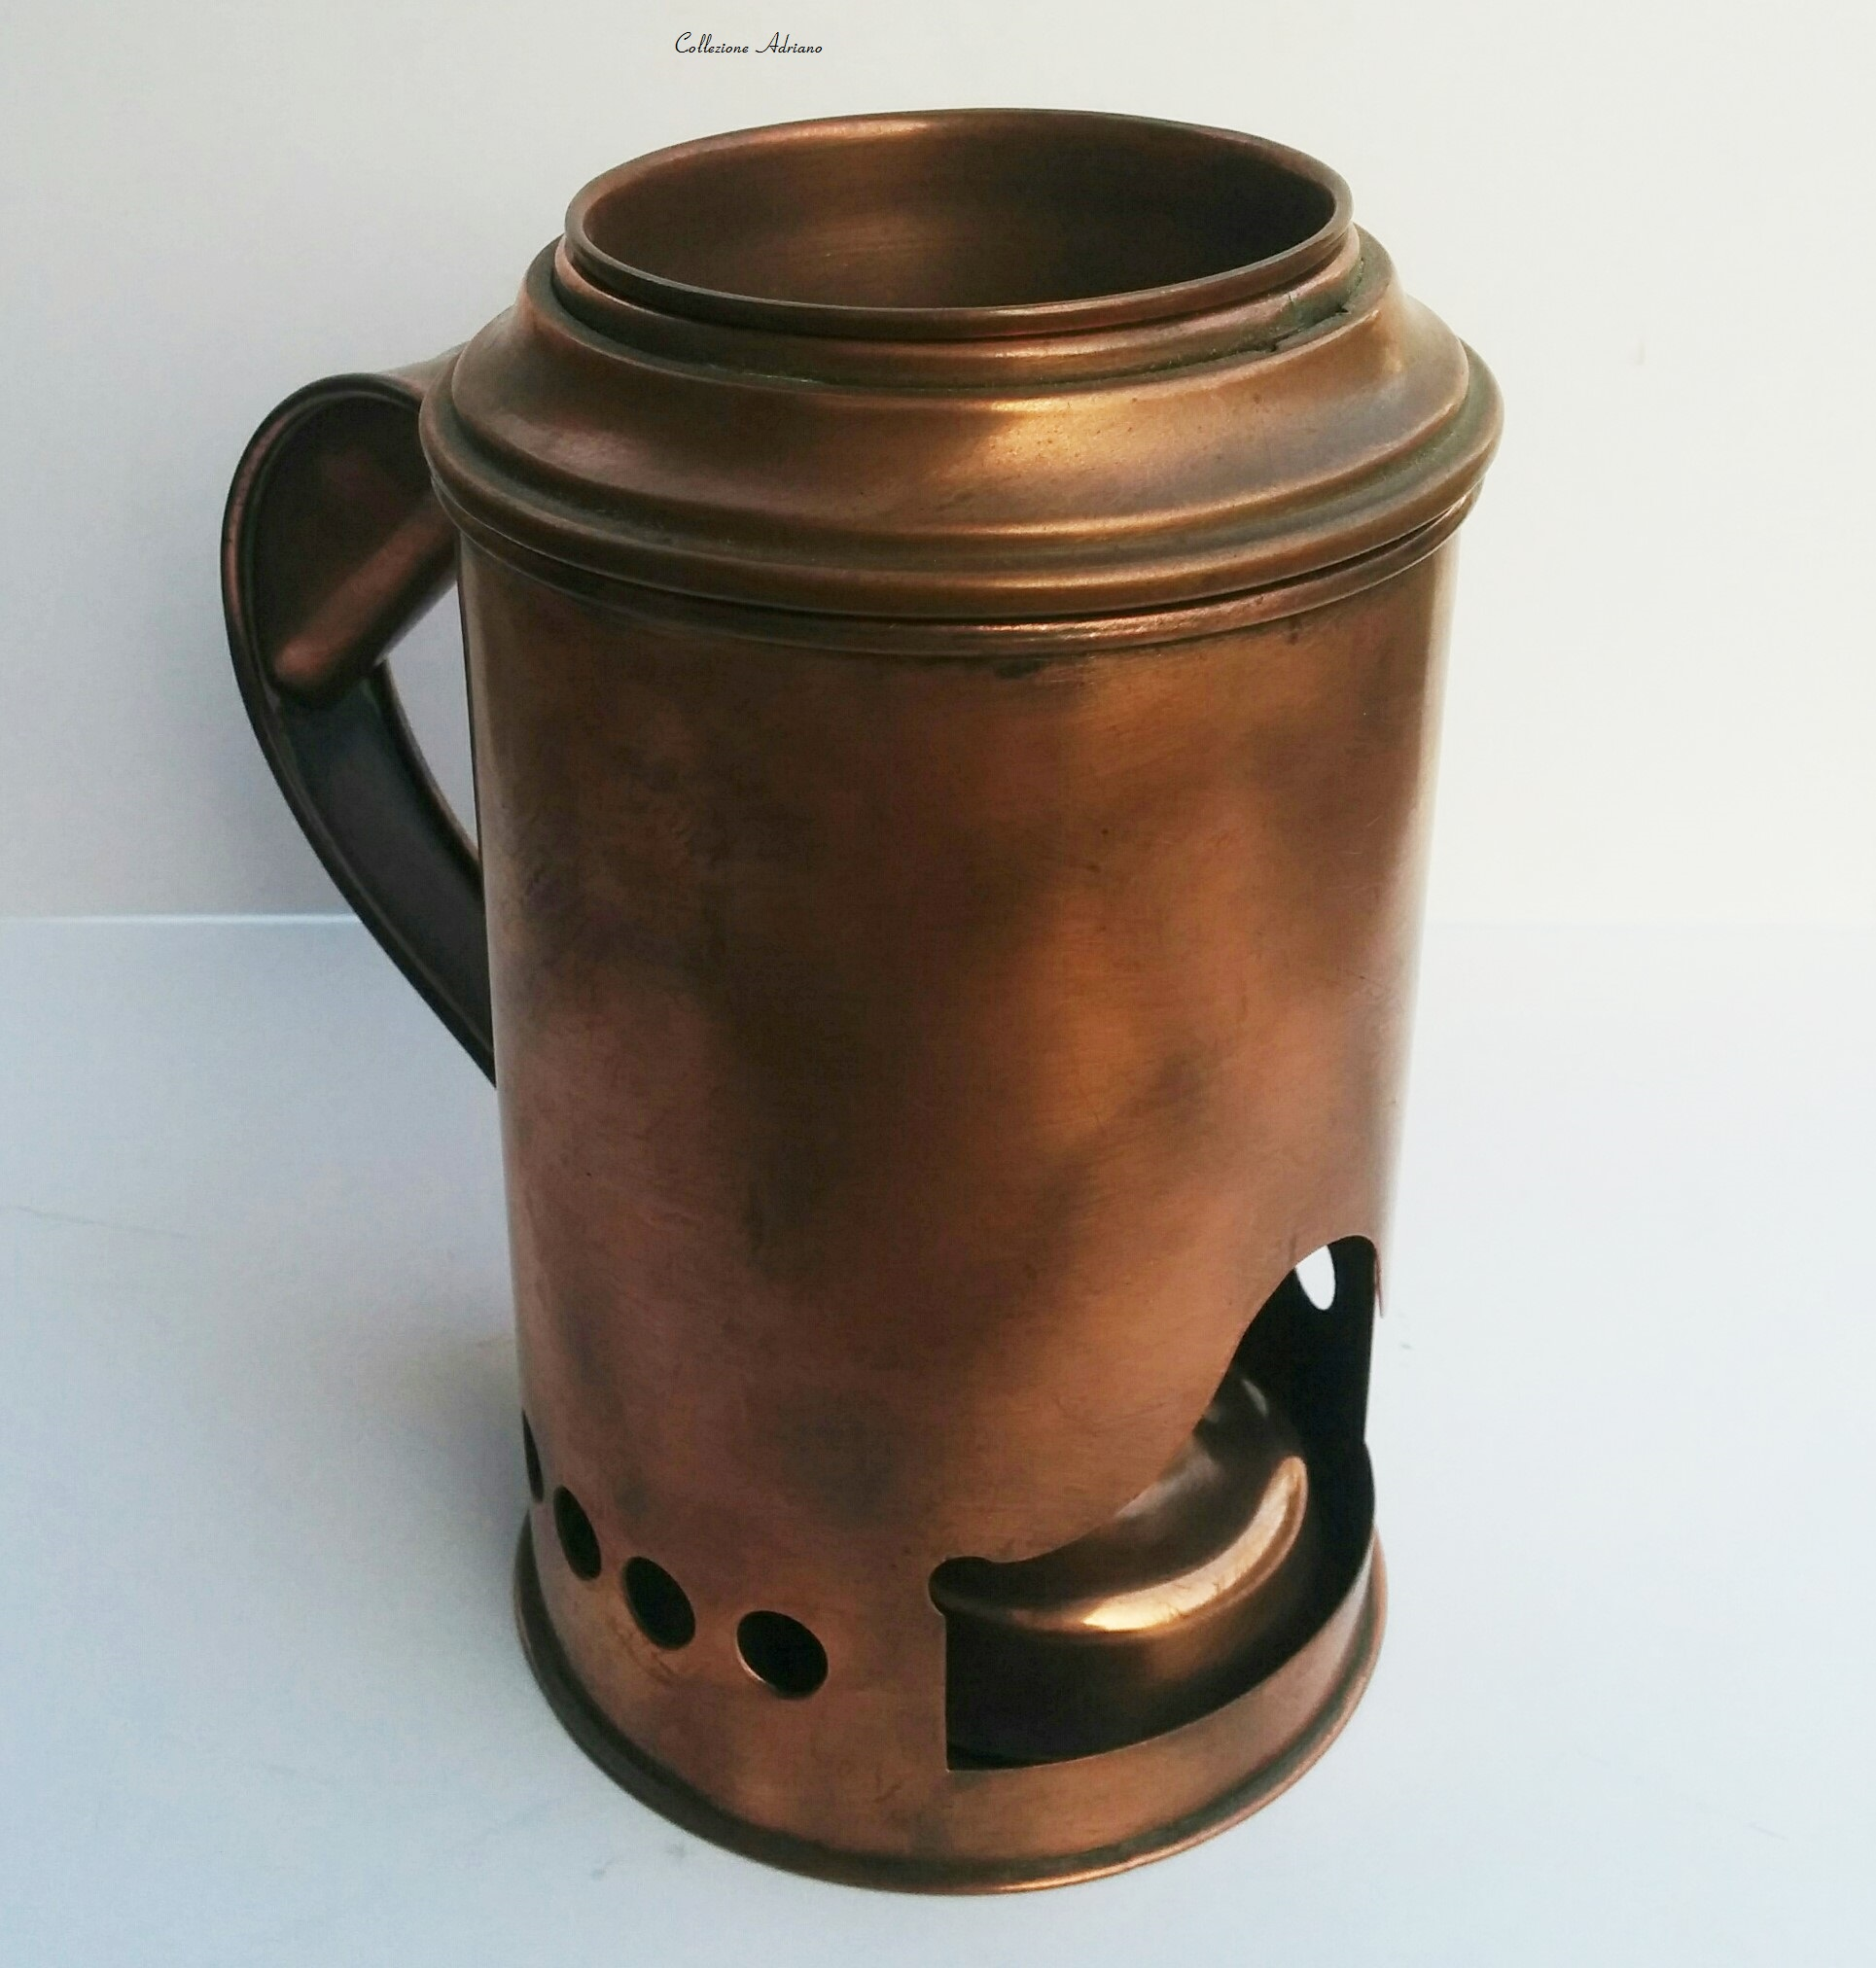
Glue pot with alcohol burner underneath. “Unsettled Market; Prices are subject to change without notice.” (1905) The triangular vents or flues are for use with an alternative kerosene burner which does not burn as cleanly as alcohol fuel.
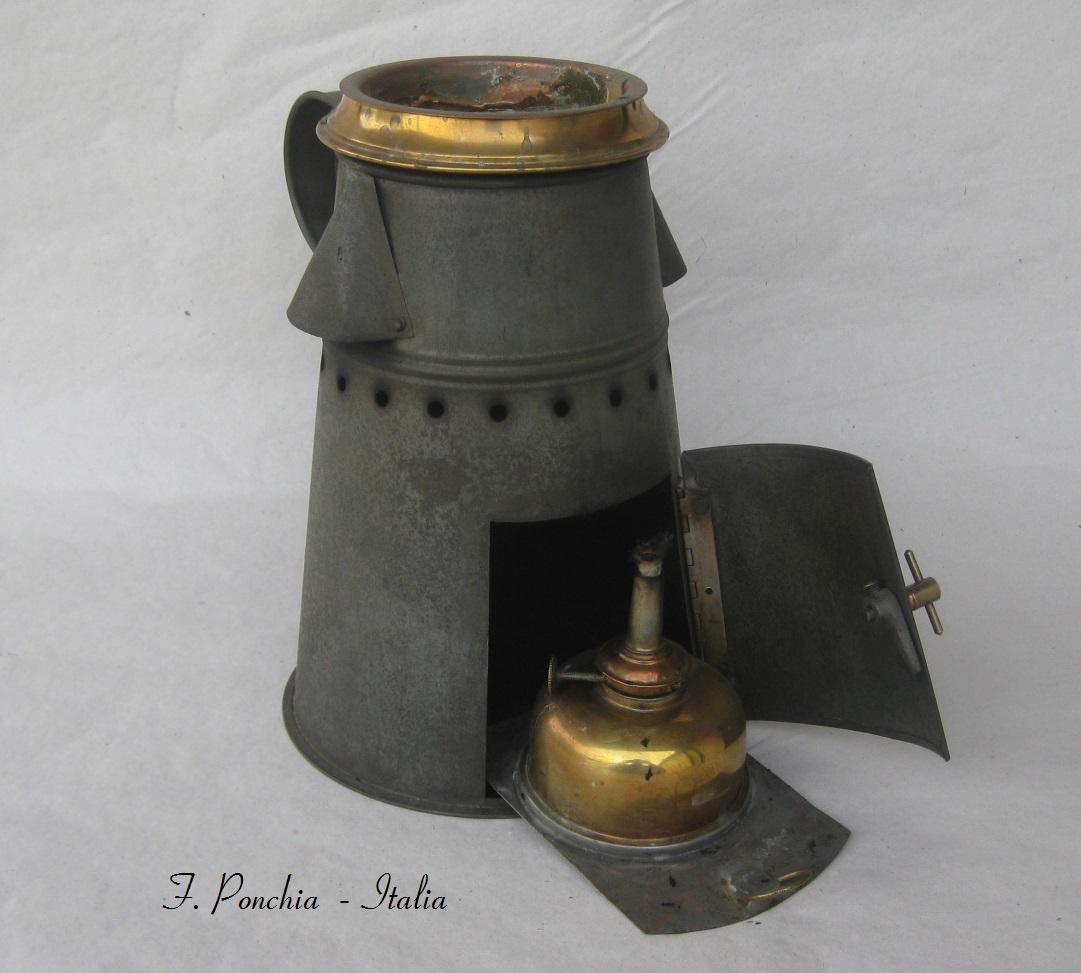
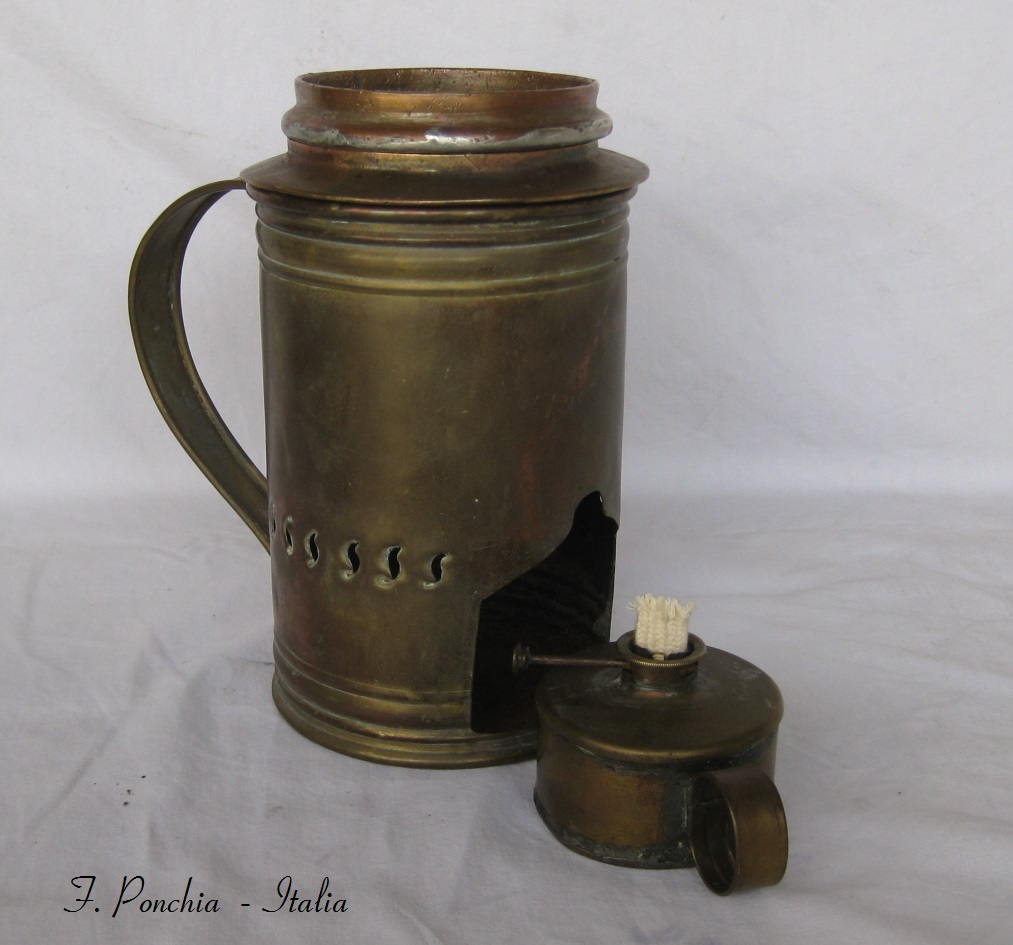
Large lamp glue pot. Photo from Federicio Ponchia.
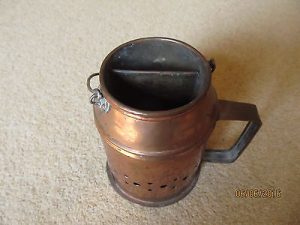
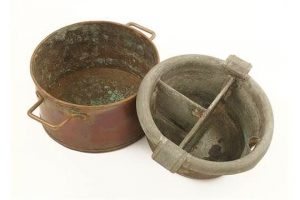
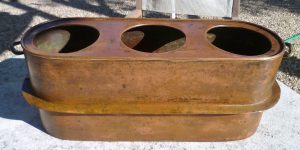
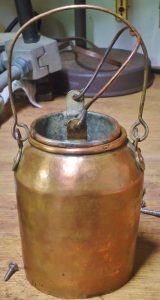
View of copper glue pot showing separate compartments for strong glue, and less strong, more diluted hide glue.
“French cabinet makers use a glue pot with an inside pan made of glazed earthenware and divided radially into three divisions, in one of which is kept strong glue, in another weaker, and in the the third, water only, with a brush or piece of sponge for cleaning off superfluous glue from the work” From “The Practical Cabinet Maker and Furniture Designer’s Assistant,” by Frederick Thomas Hodgson in 1910.
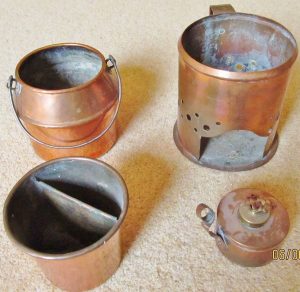
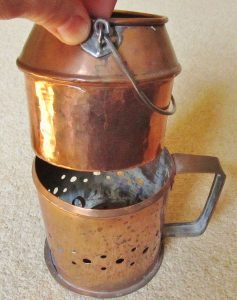
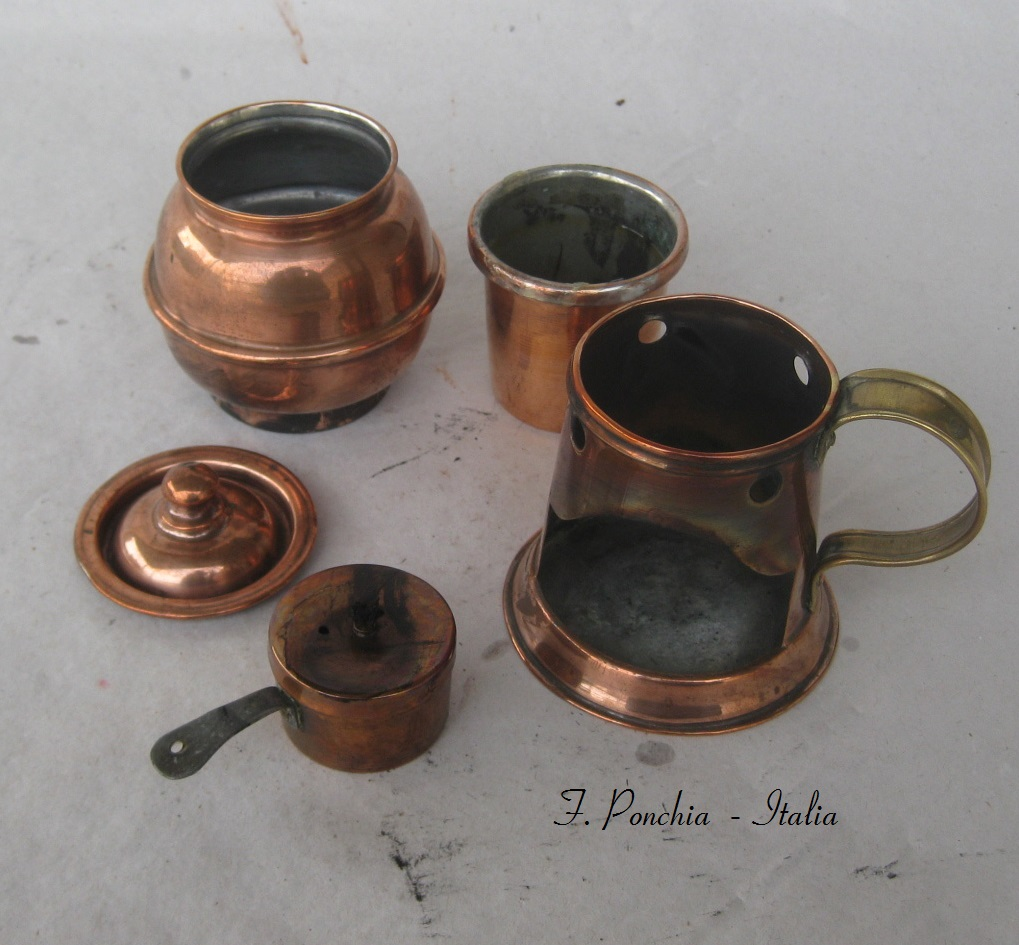
All copper hide glue setup, including alcohol burner, heating shroud, outer pot for water, and inner pot for glue. This French glue pot was found in England.
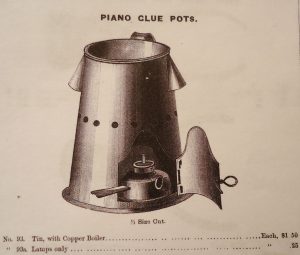
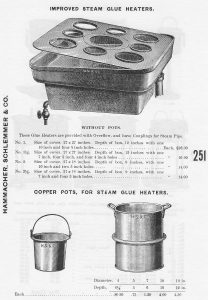
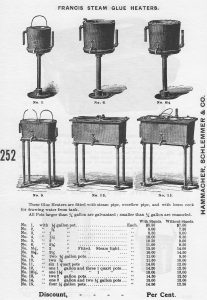
Large glue pot. H.S. & Co., N.Y. pianomaker’s catalogue, 1885. A very similar glue pot was illustrated in Seiver’s “Il Pianoforte…” published 1866 in Italy, but this book described piano making as it was practiced at least several decades earlier than that–back to the days of Fortepianos.
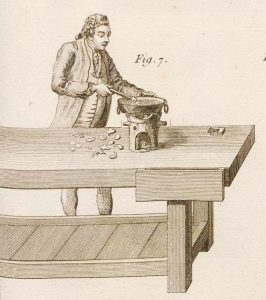
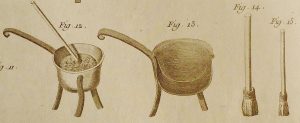
From “L’Art Du Menuisier,” by André-Jacob Roubo. Published in 1774. Excerpt from plate #299. Early lamp glue pot.
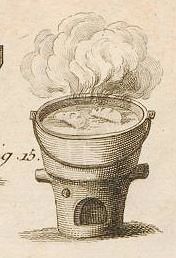
From “L’Art Du Menuisier,” by André-Jacob Roubo. Published in 1774. Excerpt from plate #334. Early lamp glue pot.
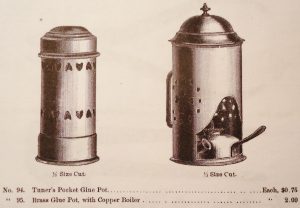
H.S. & Co., N.Y., 1885 catalogue. Small hide glue pot setup, for the traveling tuner. And deluxe brass glue pot combination.
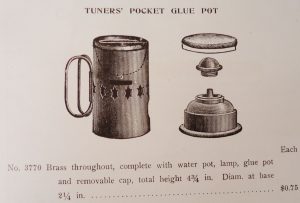
Tuner’s pocket glue pot, 4 13/4″ high, brass, showing burner separately. American Felt Co., N. Y., 1914.
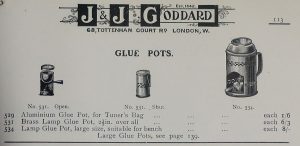
Glue pots offered by J.&J. Goddard piano supplies, 68 Tottenham Court Road, London, 1920. Tuner’s model does not include double boiler. Large glue pots on page 139 ranged in size from 1 pint to 6 pints. “Best quality cast iron [glue pots] with tinned inner pots.”
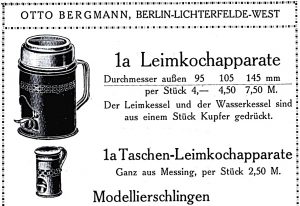
Large glue pot for shopwork, and portable glue pot, for mobile tuners, in Otto Bergmann, Berlin tool catalogue for 1927.
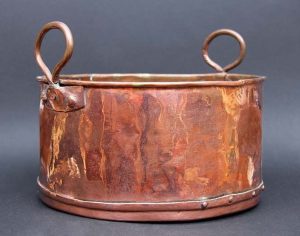
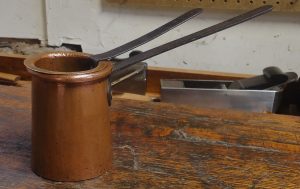
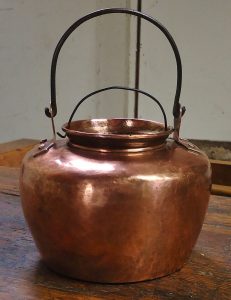
Rustic and small copper glue pot, probably English. Copper conducts heat very efficiently, and also inhibits glue spoilage and mold, functioning as a biocide. Rust from the iron glue pots can really stain the glue; with copper glue pots, this is not a problem.
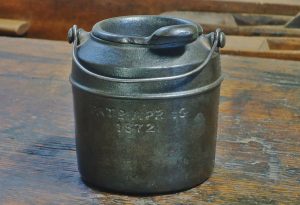
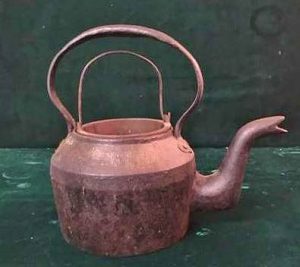
Small 3 inch cast iron glue pot patented by Thomas C. Howes on April 16th, 1872.
The tongue-like protuberance from the inner pot was included in the patent to serve as a fulcrum for the lid. In actual practice, the extension serves as a handle, as well as a sort-of spout from which to pour the glue. Most of the relatively few lids manufactured for the 1872 pot have been lost.
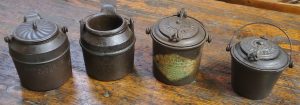
Line up of Thomas C. Howes glue pots. Original version showing the 1872 patent is on the left, including the elusive lid; Unmarked copy of the 1872, with extended handle flanges is next; Landers, Frary, and Clark 1875 version second to right, showing the April 16, 1872 patent on label; Buffum Mfg. version on right, which is smaller and has a rivet for the lid instead of a hinge. Fanner Mfg. Co. in Cleveland, Ohio also made copies, and Lee Valley make a stainless steel version presently.
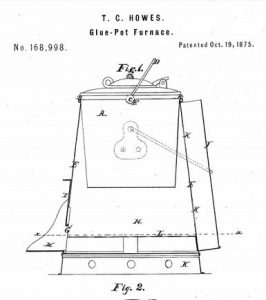
Final iteration of Howe’s glue pot, now with a true hinge for the lid. And the furnace, with flue.
Patents for ‘improvements’ in glue pots before 1900.
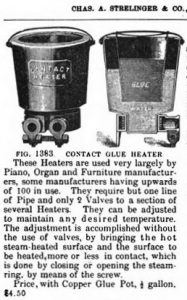
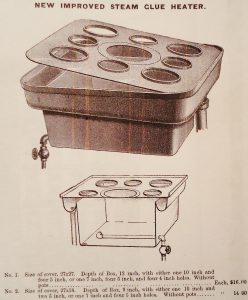
Charles Strelinger & Co., Detroit Michigan,1897 catalogue. “These heaters are used very largely by Piano, Organ, and Furniture manufacturers, some manufacturers having upwards of 100 in use.”

Photo courtesy of Federicio Ponchia.
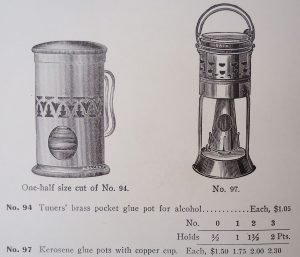
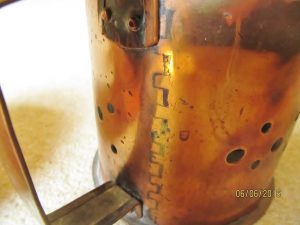
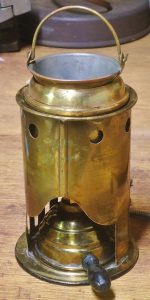
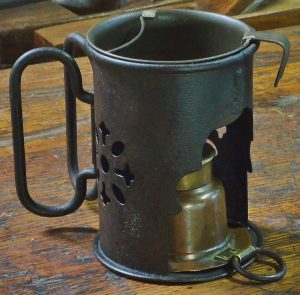
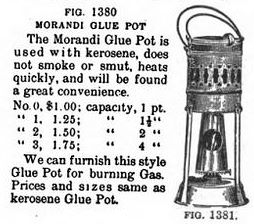
Glue pot with heating shroud, intended for use with an alcohol burner, and glue pot originally set up for use with a kerosene burner. Alcohol burns cleaner than kerosene, hence the open arrangement for ventilation. H.S. & Co., N.Y., circa 1900.
Here is a description of the kerosene lamp glue pot:
“Glue Pot.– A glue pot recently perfected consists of a circular kerosene lamp, made of tin, resting upon a tin bottom 8 1/2 inches in diameter. The lamp is fitted with a tin chimney in place of glass, and fitted with a small aperture, covered with mica, so as to see how to regulate the flame. The glue pot is made of copper, tinned on the inside and supported upon a rim setting up about six inches from the bottom of the lamp, the rim supported by three legs, soldered and riveted to the rim and bottom of lamp rest. The pot in which the bottom is placed has a portion of the bottom arched, to give more heating surface, and connecting with the chamber under the pot is a flue, passing out and up alongside of the pot, which carries off any smoke from the lamp, and also acts as a draft to the flame. This pot is five inches in diameter, and about six inches high. The pot for the reception of the glue is set in the same as an ordinary glue pot, and will hold about a quart of glue. The whole can be carried to any place where you wish to use it, and still have the heat kept up. The cost of oil is but a few cents a week. Another improvement is in the pot being of copper, tinned. It will not corrode and spoil the glue, as is the case with iron.” From “The Practical Cabinet Maker and Furniture Designer’s Assistant,” written by Frederick Thomas Hodgson in 1910.
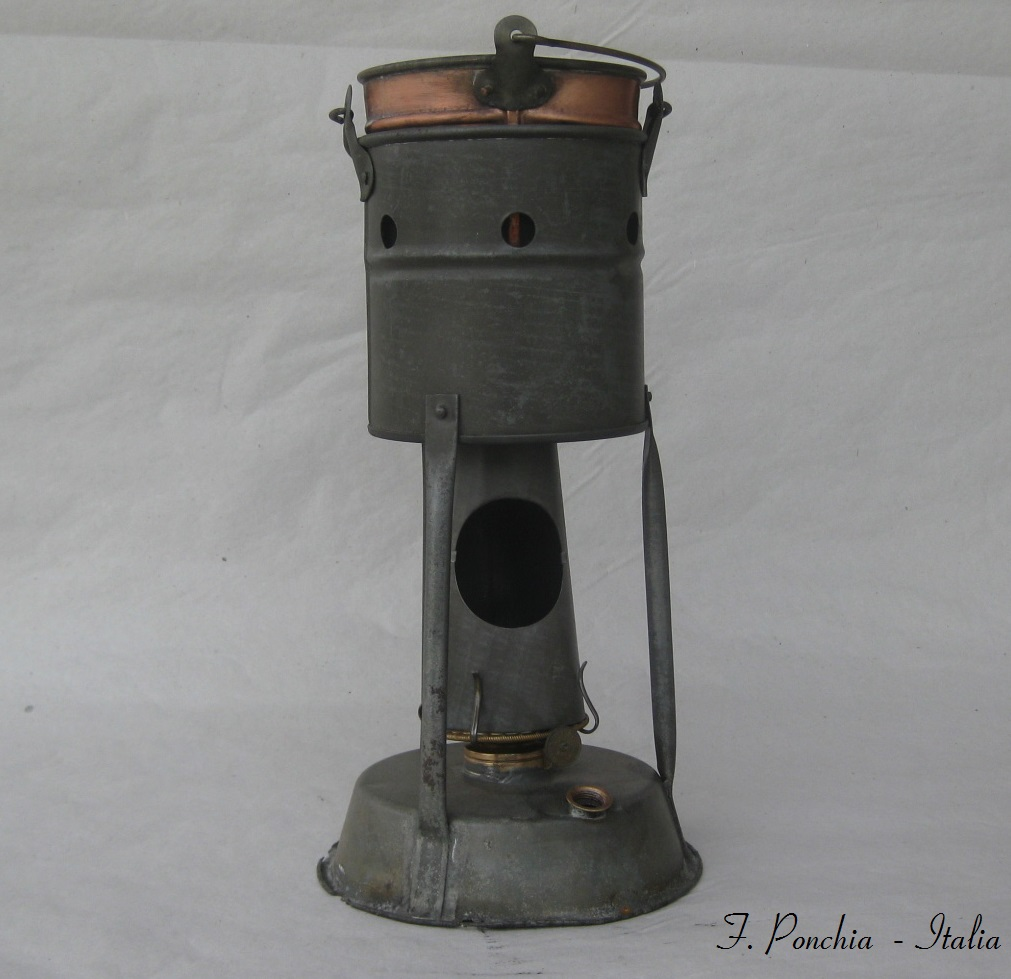
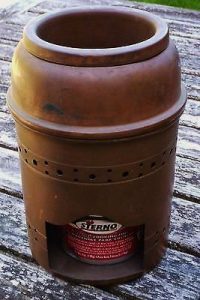
Kerosene was much less expensive than alcohol fuel, which can get pretty costly when used on a regular basis. Photo courtesy of Federicio Ponchia .
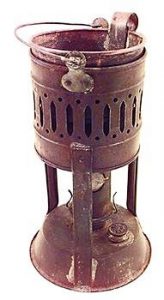
Kerosene lamp glue pot, with intact mica window for observing and regulating the flame. Photo from Donnelly Auctions in 2007.
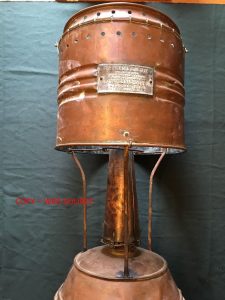
The Wetmore glue pot, manufactured by the Advance Machinery Co., Toledo Ohio. Photo courtesy of Federicio Ponchia .
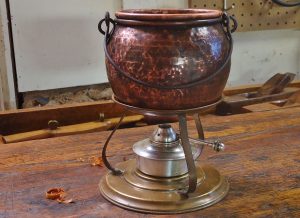
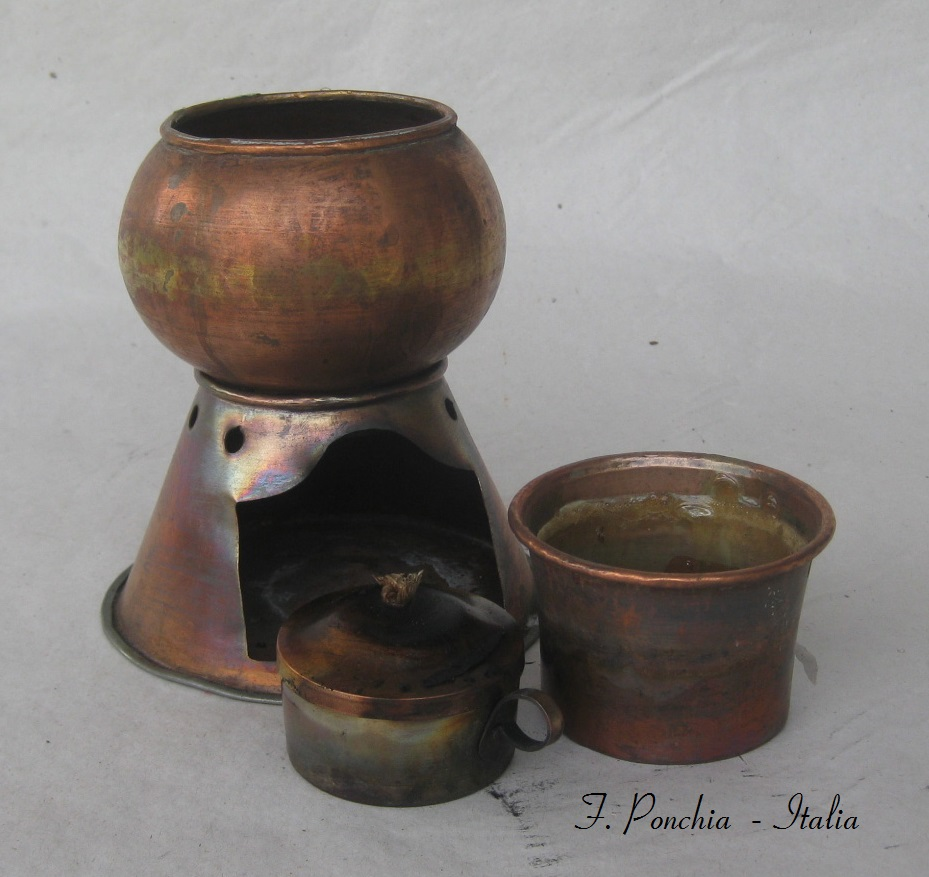
Open glue pot setup, with hand-hammered copper double boiler, brass stand, and adjustable burner. The globe-shaped Bain Marie glue pot is a French design. Un accessoire très utile pour les marqueteurs, ébénistes et les luthiers. Et les travailleurs de piano.
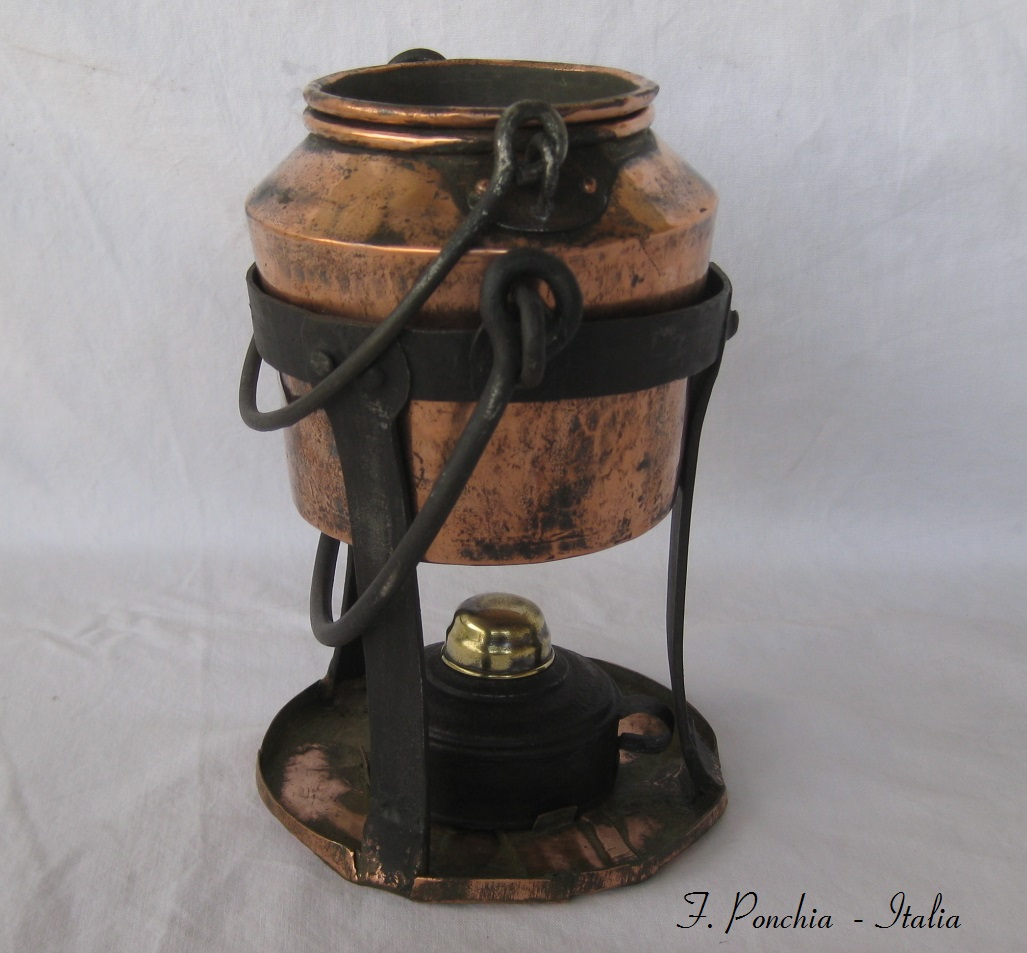
Glue pot in stand. Photo courtesy of Federicio Ponchia.
As seen in the cross section, the French glue pot had arrived at its final form, with double boiler and wrought iron legs. Also show are two hide glue applicating brushes, made of hog hair bristles, and attached to handle with wrapped cord instead of a metal ferrule, in order to avoid staining the glue.
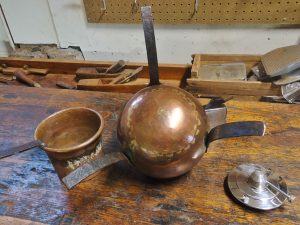
Bottom of pot, showing exquisite overlap dovetailing. The French made the finest glue pots in the world, in my opinion
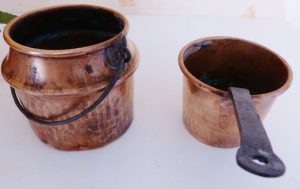
The lip on the upper perimeter of the outer pot would indicate that it was originally intended to sit within a stand, or on top of a heating shroud. French origin, outer pot is 3 3/4 inches tall.
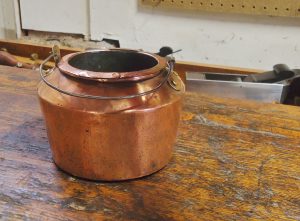
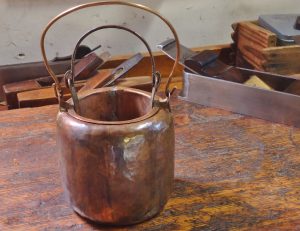
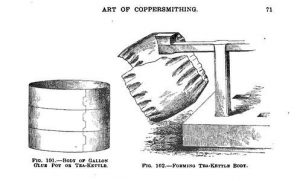
Classic glue pot design. Copper glue pot is also dovetailed. Body is similar, if not identical to copper tea kettles made in the early to mid-19th century.
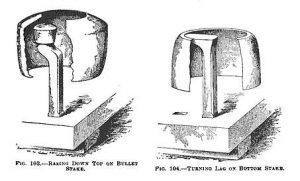
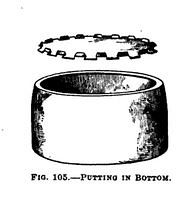
“Glue pot and tea-kettles: Glue pots may be considered as the stepping-stones to tea kettle making, as the bodies are made the same size and way, and if a boy (or man either for that matter,) will take the necessary care and interest while being instructed in the work of making glue pots, he may attain the proficiency necessary to execute the best work, such as is demanded for bright goods. Let us begin to make two round bodies, the same as for 1-gallon glue pots and at the proper place we will branch off, finishing one a brown glue pot, and the other a bright tea-kettle, following throughout the methods in vogue when the coppersmith made his own mountings” –From “Art of Coppersmithing,” by John Fuller Sr., 4th edition, 1911.
John Fuller apprenticed in a coppersmithing shop, at the the age of nine, in 1842 in the town of Dorking, Surrey, England. He described how coppersmiths made their wares, at a time–up to around 1884 he explained later–of utilizing traditional methods with hand-made forms and mountings.
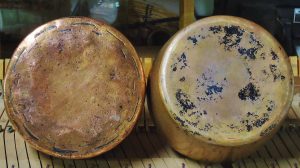
Two gluepots in the early 19th century teapot style, showing dovetailed bottoms. One bold, the other, subtle.
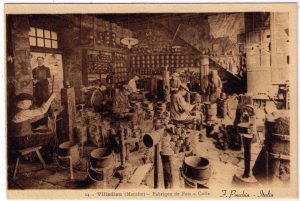
Coppersmith’s workshop devoted to making glue pots in Villedieu, France. Image from Federicio Ponchia.
In the Normandy region. Workers were commonly deaf or hard of hearing from all the hammering involved in making copper goods. Its ironic that the copper glue pots were destined for the many instrument makers and piano factory workers in France, yet those who made them were deaf. Of course, these pots were in demand from other crafts, such as cabinet makers, and restorers.
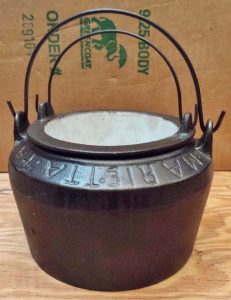 Traditionally designed cast iron Marietta glue pot, with white enamel or porcelain lined inner pot, to prevent glue staining. Made in great quantities by Marietta Mfg. Co., in Marietta, Pennsylvania. Kenrick & Sons, in England, also made many cast iron glue pots of a similar profile. Archibald Kenrick started a foundry in West Bromwich, U.K., in 1791, and Kenrick Co. is still in business today.
Warning: antique cast iron and enamel lined cookware from the the old Marietta foundry, and others, may contain lead in both the iron (to enhance malleability) and in the enamel. For glue pots and gluing purposes this would probably not be a significant issue.
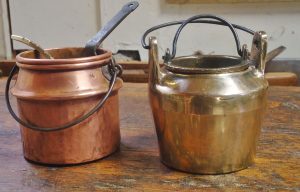
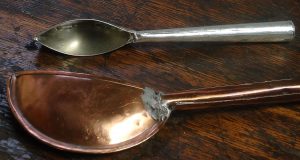
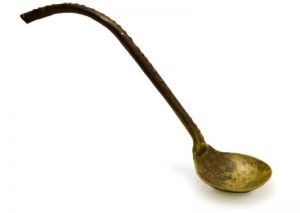
French copper glue pot, with mizusaji glue spoon inside inner pot, showing how small it actually is. And a rare English cast gunmetal (bronze) glue pot, which, when gently struck, rings like a bell. This alloy is also known as bellmetal. Both glue pots are under four inches high.
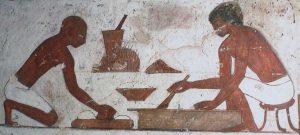
Ancient Egypt: Craftsman preparing glue–glue pot is over a fire, and craftsman painting a board.
Dionysius of Fourna, an Eastern Orthodox monk, wrote a manual of iconography “Hermeneia” between 1730 and 1734. Hermeneia included the following instructions on preparing hide glue from scratch. This material was taken directly from the Emily Carr University of Art and Design in British Columbia, Canada website.
“On the Making of Animal Collagen Glue–When you wish to make some glue, do thus: take some limed skins, and put them into lukewarm water to soak right through; wash and clean all the flesh tissue and dirt off them, and put them in to clean water in a copper vessel to boil. Watch for when they come to the boil and begin to thicken, and strain off either with a woven strainer or a cloth, otherwise they will burn, and then put in more water; repeat this two or three times, straining off until they are completely dissolved. If you cannot find limed skins, use unlimed ones, choosing the skin from the feet or ears of oxen, and any skins that cannot be put to any other use or are of little value. If they are thick it does not matter; buffaloes and ewes are also good. Deal with them thus: take some quick-lime and put it into a pestle with some water and mix it until it is all dissolved; put the skins in this solution and leave them for a week, until every single hair has come off them. Take them out, wash and clean them thoroughly and let them dry. Whenever you want to make glue, do as we have written above for you. But if you are in a hurry and have no lime, in order to soften the unlimed skins soak them and then put them on to boil for a short time; take them out and clean them well of any fat and flesh tissues and cut them up in a chopper so that they will be boiled more quickly; do not separate the pieces completely, but leave them joined together so that you will not be hindered when you come to strain them off. Boiling the skins like this you will obtain some glue. If you want to dry the glue, put the last of the glue alone on a low fire and let it boil until it coagulates, only watch it well as it may froth up a lot, and you must therefore be present when it is boiling so that when it froths up you can take it off the fire and put it in a vessel of cold water so that it touches the bottom in order to stop it rising. Put it back several times on to the fire until coagulates, and then take it off and leave it to cool. Stretch a piece of string in a bow-saw, cut them into small pieces and leave them on a board for two or three days until they begin to harden; then pass string through them and hang them up in the air to dry completely, and keep them for when you want to lay gesso. See that you always prepare glue in cold weather, as it smells if the weather is hot, and you will not make such good progress.” (Dionysius, 1734)
The text from Emily Carr University of Art and Design then described the modern method of making hide glue in basic outline form:
“This method [Dionysiyus’] of preparing glue was used up to the beginning of the 19th century, and in some places even later. Since that time, glue has been produced industrially.
The modern glue manufacturing process basically follows this procedure:
- Wash hides and bones to remove dirt;
- Soak in limewater for 60 to 90 days;
- Wash to remove hair and lime;
- Neutralize with acid, drain, wash and drain again;
- Add the raw material to water, heat to 45-50° C. (110-120° F.) for two to four hours (called an extraction);
- Drain off the dilute glue solution, evaporate, chill, dry and grind the resulting solids;
- Repeat the last two steps three to four times to extract all of the glue from the hides and bones with the temperature increased (20-25° F.) each time.
It is not worthwhile for an artist to try making glue using ancient techniques, such as the method described by Dionysius. The quality of this glue will be considerably lower than the quality of glues prepared industrially and using inferior quality glue can create problems in the final product, such as scaling, formations of cracks, and the like.”
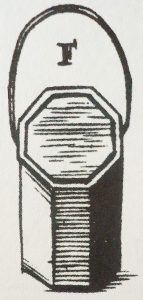
Illustration of a lead glue pot from “The Art Of Joinery,” by Joseph Moxon, circa 1703. One would have to be careful to avoid melting the lead as a result of placing the pot too close to the flame. Lead was used for its superior ability to conduct–and hold, heat.
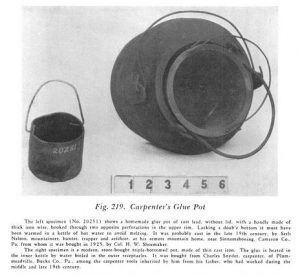
Here is a more detailed description by Mercer:
The left specimen (No. 20251) shows a homemade pot of cast lead, without lid, with a handle made from wire, hooked through two opposite perforations in the upper rim. Lacking a double bottom it must have warmed in a kettle of hot water to avoid melting. It was probably cast in the late 19th century by Seth Nelson, mountaineer, hunter, trapper and artificer, at his remote mountain home, near Sinnamahoning, Cameron Co., PA, from whom it was bought in 1925, by Col. H.W. Shoemaker. The right specimen is a modern store bought triple-bottomed pot, made of thin cast iron. The glue is heated in the inner kettle by water boiled in the outer receptacles. It was bought from Charles Snyder, carpenter, of Plumsteadville, Bucks Co., PA, among the carpenter tools inherited by him from his father, who had worked during the middle and late 19th century.
The Carpenter’s Glue Pot. (Fig. 219) an original, homemade example of which, constructed of lead for extra heat retention, as described by Moxon, is here shown. No. 20251. Still earlier than Moxon, in the “Probate Records of Essex County, Massachusetts, 1635-1681, 3 vols., George Francis Dow, editor. Salem Mass. The Essex Institute, 1916-1920, the carpenter’s glue pot is appraised at 1 shilling, in 1644, and at 1 shilling, 6 pence, in 1675. In these cases it seems unlikely that the glue pot could have been made thus cheaply of expensive lead, neither could it have been double-bottomed, as described in “The Circle of Mechanical Arts,”, by Martin, who, writing in 1813, says that the double-bottomed glue pot had just then come into use in England. The illustration also shows one such pot, factory-made, in three compartments, of cast iron, enclosing an inner receptacle of heat retaining alloy, of date about 1870, resembling in construction those now in use [1925-1929], in which the glue, in this inner kettle, escapes scorching by being heated by water boiled in the outer compartments.”
From Ancient Carpenters’ Tools, by Henry C. Mercer in 1929.
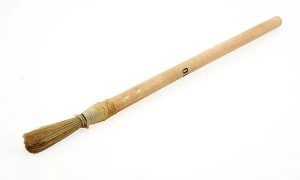
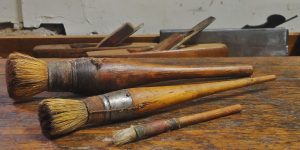
Traditional string wrapped glue brush with hog’s hair bristles. string-wrapped instead of a metal ferrule in order to prevent staining the hide glue. This becomes more salient when joining lighter colored woods.
This glue brush was string-wrapped instead of a metal ferrule in order to prevent staining the hide glue. This becomes more salient when joining lighter colored woods.
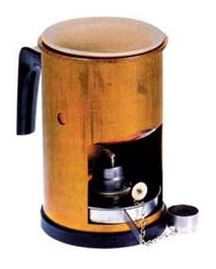
Another version, brass body, and ceramic glue pot.
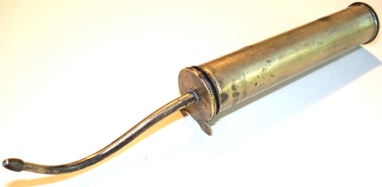
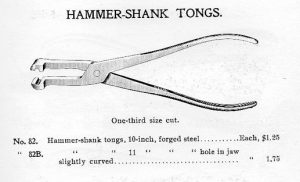
Portable tuner’s hammershank alcohol “burn-over” tool. For bending wooden grand hammershanks. Very commonly used after hanging sets of hammers on new or old shanks.
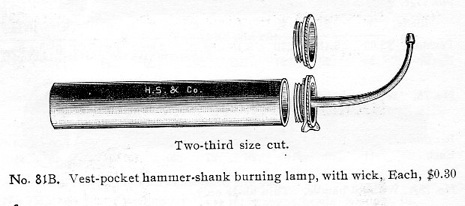
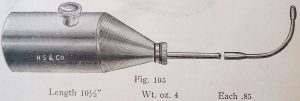
From Hammacher Schlemmer piano supply catalogue, c. 1903.
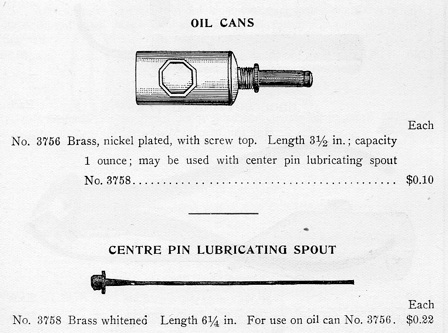
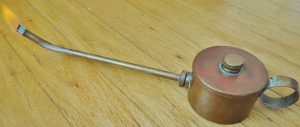
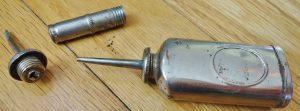
American Felt Co. 1911. An alternative spout would convert this oiler into a hammer-shank burning lamp, using alcohol as fuel.
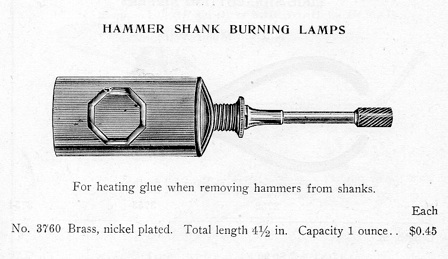
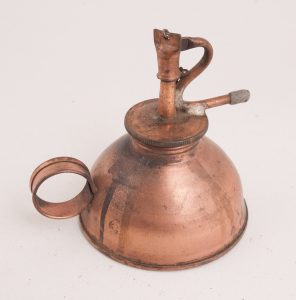
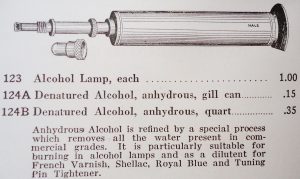
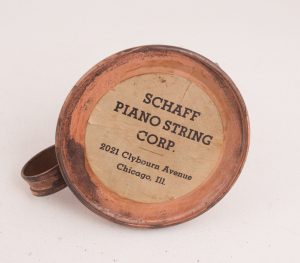
Alcohol lamp, for cabinet finish burn-in repairs, heating a large glue pot, or heating wooden hammershank bending pliers. From Schaff Piano String Co., Chicago, IL, circa 1915.
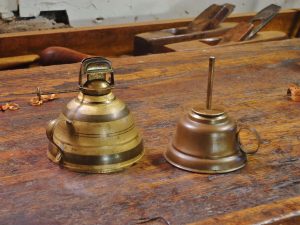
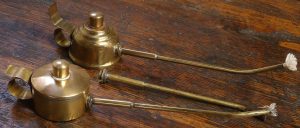
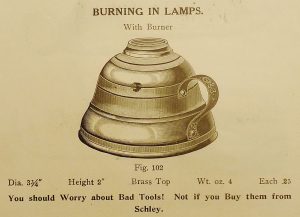
Two 19th century finger lamps. Left one is similar to the illustration above, and would work well for heating the burn-in knife, or spatula. This lamp would also be used for ironing or steaming hammers with a hammer iron, or heating upright hammer shanks with shank bending pliers.
And this section would not be complete without Scriabin’s “Vers La Flamme.”
Save

